
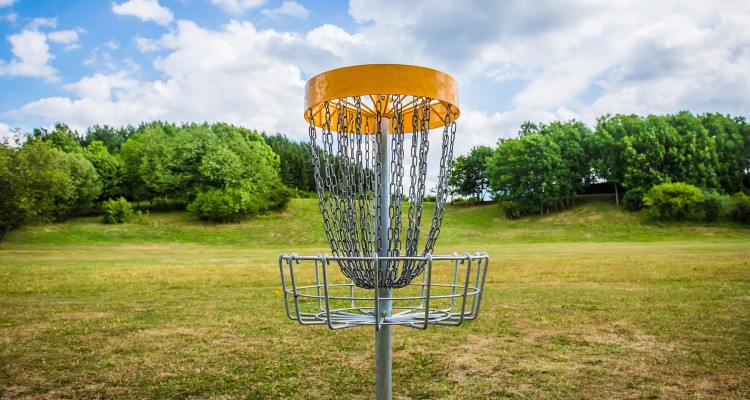
DISCatcher® Pin Placement Installation
IMPORTANT!
Call 811 to inform local utilities of your project so they can mark/flag any underground lines.
![]()
Installation Overview
Before you can set the targets in the ground, you will need to set an installation tube in the ground for each target location. It is important to install each installation tube straight and at a proper height. The following will walk you through the proper process.
-
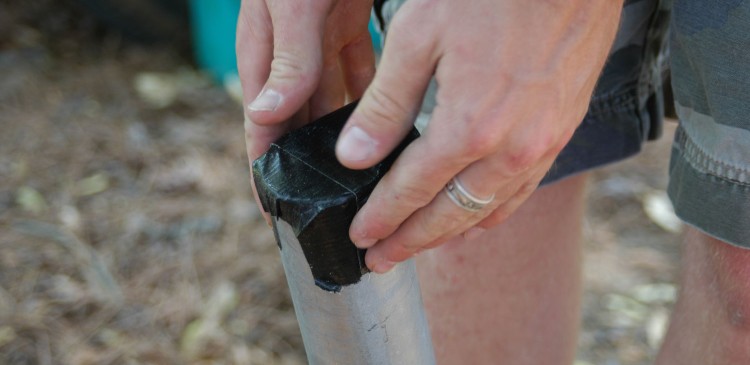
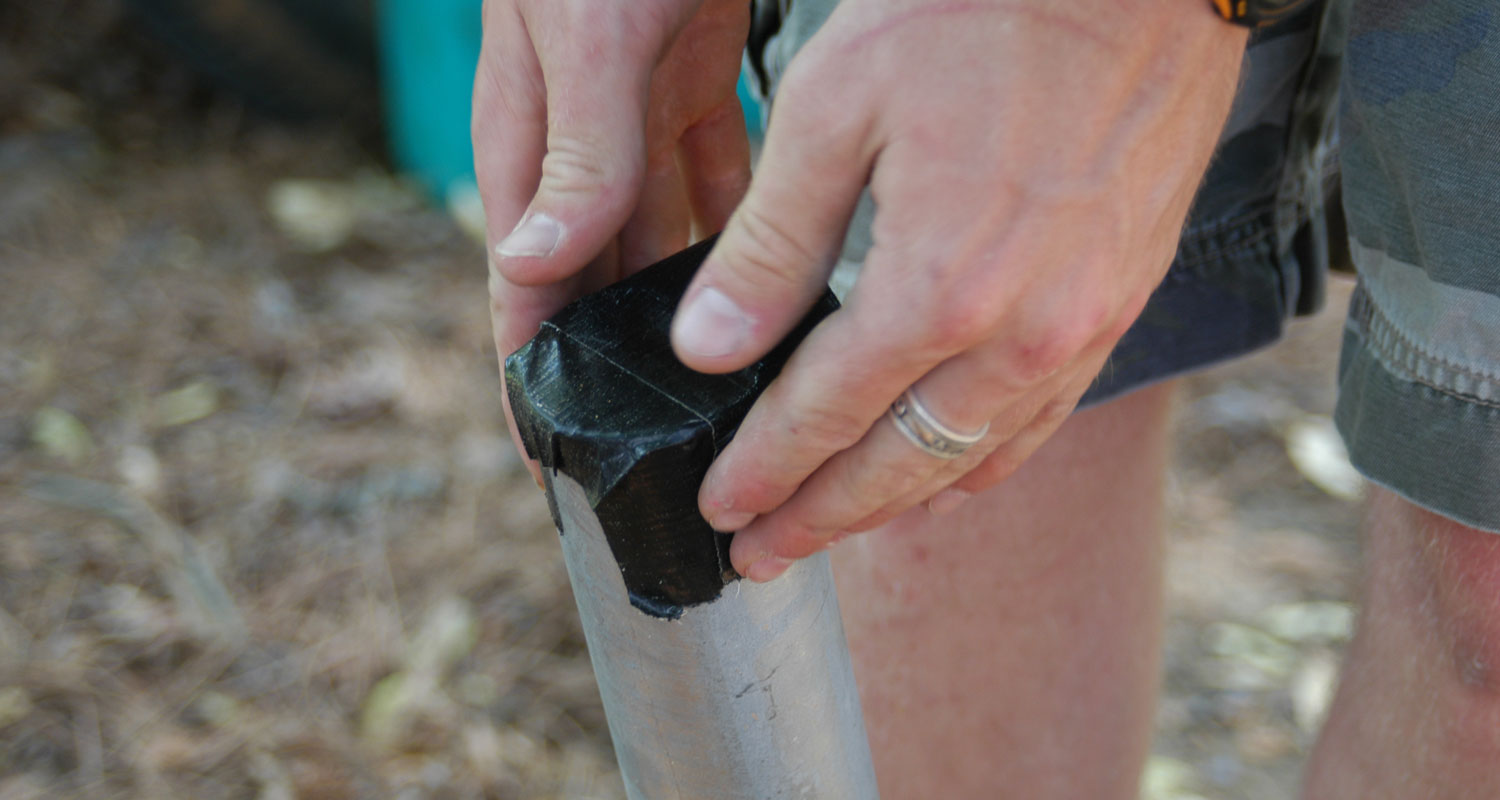
- Tape the bottom of the tube.
-
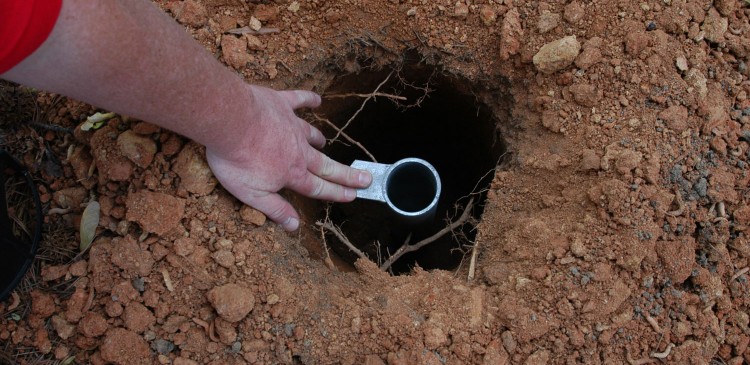
- Position tube in the hole.

-
- Slide the DISCatcher® pole into the tube.
-
- Pour in mixed concrete.
-
- Triple check that it’s plumb.
-
- Triple check that it’s plumb.
-
- (Optional) Install with sprinkler valve box.
-
- (Optional) Install with sprinkler valve box.
Installing the Pin Placement
- Tape the bottom of the tube.
This prevents any concrete from seeping into the tube. Concrete in the pipe will prevent the pole from sliding all the way down into the tube.
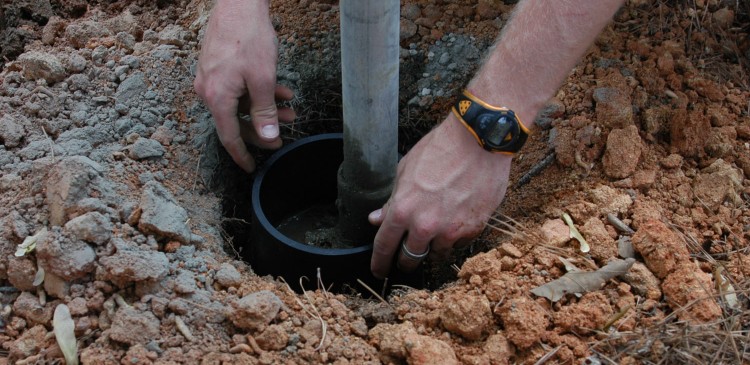
- Position tube in the hole.
The locking tab should be level with or an inch below grade. Set the tube down in the hole, align the locking tab so that it points towards the tee or last bend in the fairway (so the number on the target will face players as they walk down the fairway). Give enough space to place a lock on the locking tab.
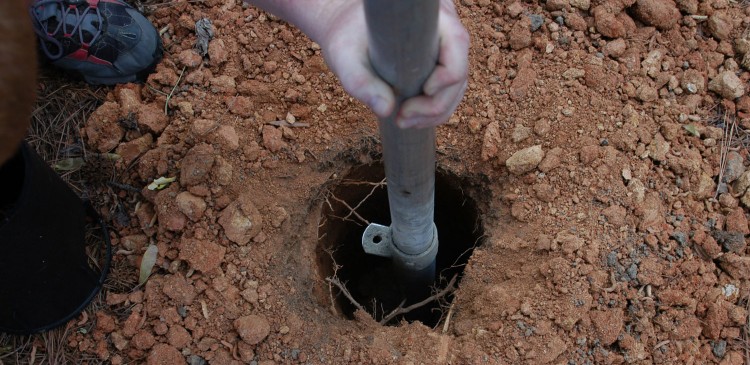
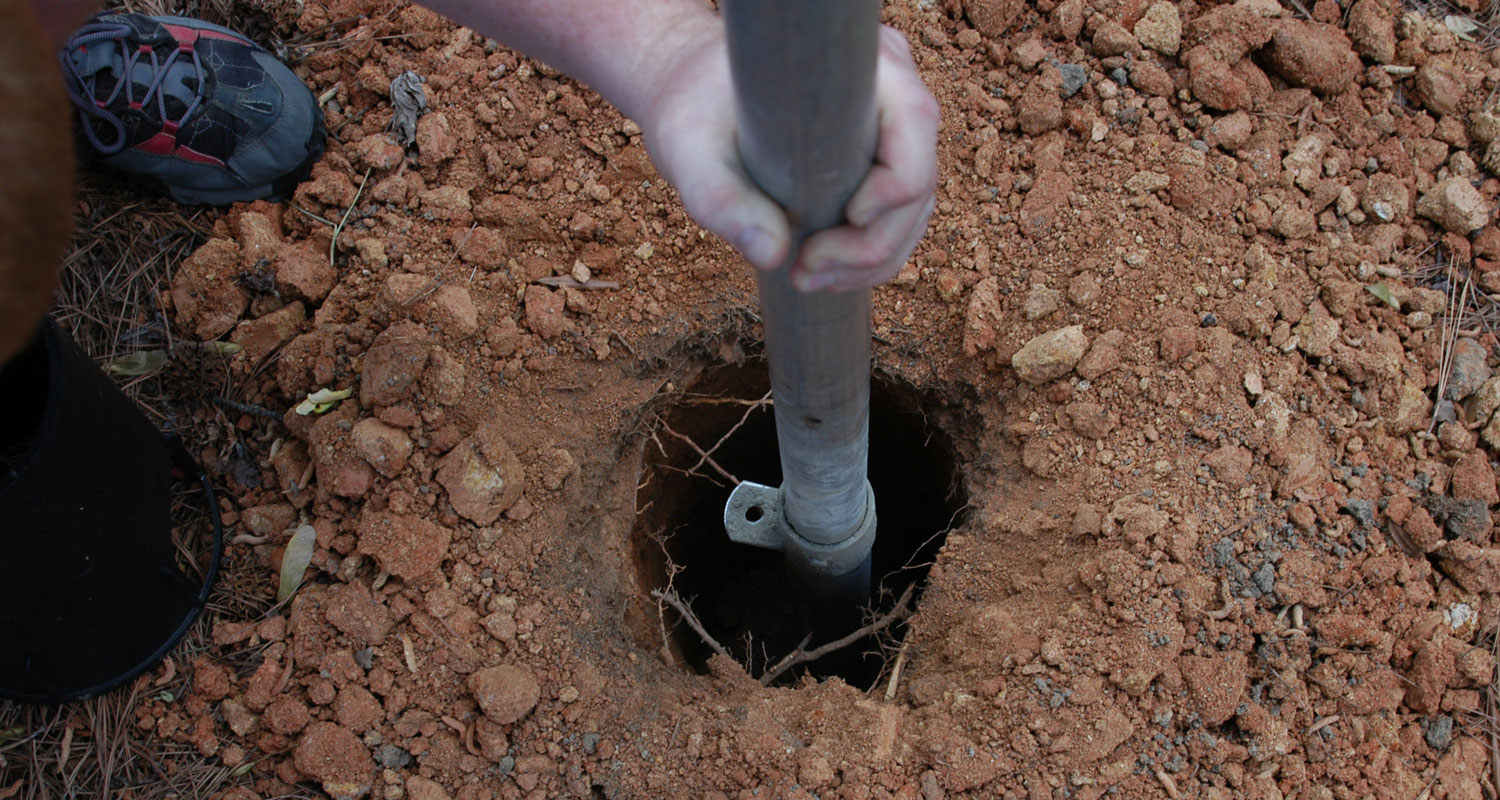
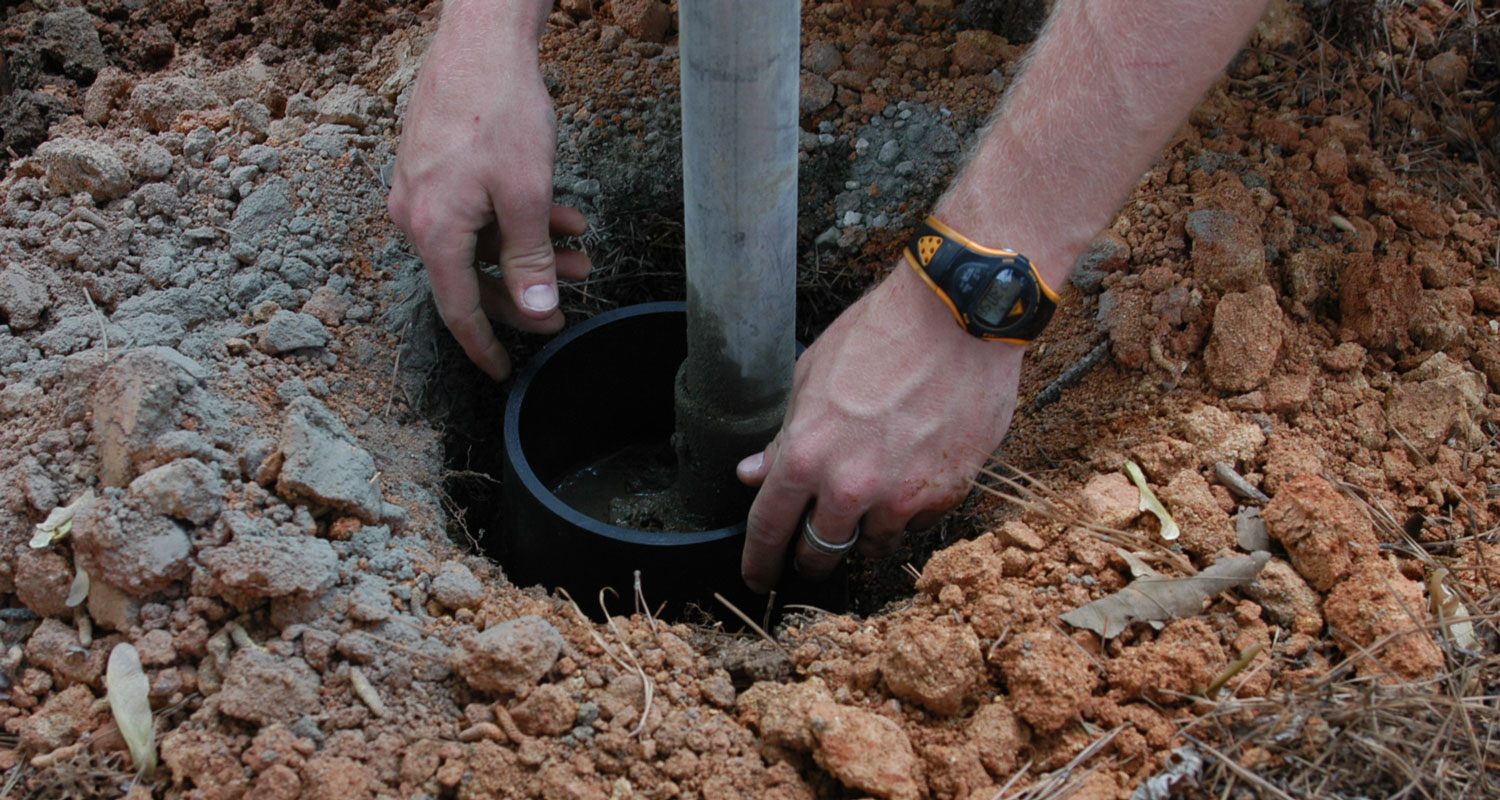
- Slide the DISCatcher® pole into the tube.
Make sure the locking tab is attached. The pole will prevent any concrete from getting into the tube, and make it very easy to align the tube to sit straight.
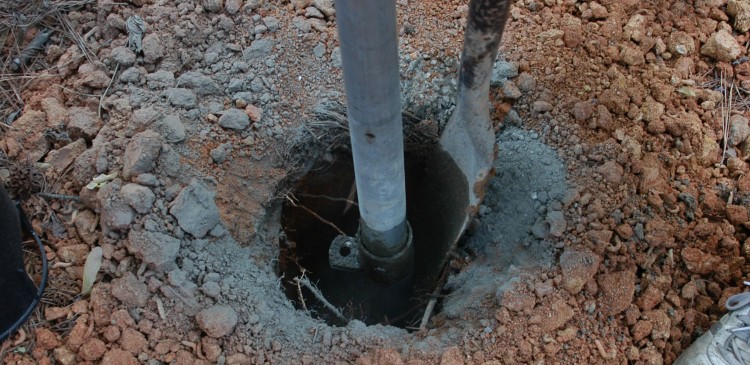
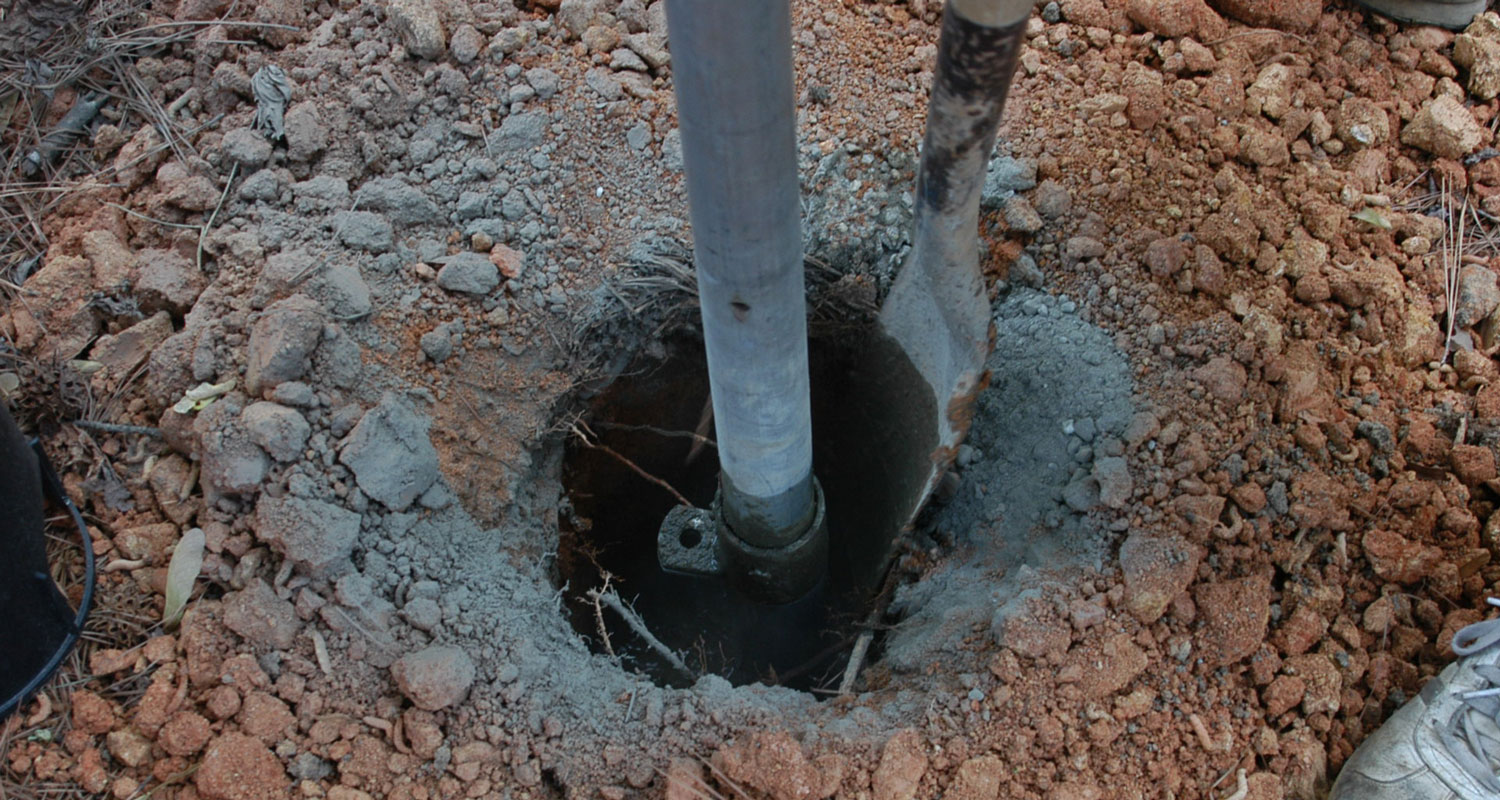
- Pour in mixed concrete.
Pour in concrete to fill all but the top 3-4 inches. You’ll need room for the lock to hang.
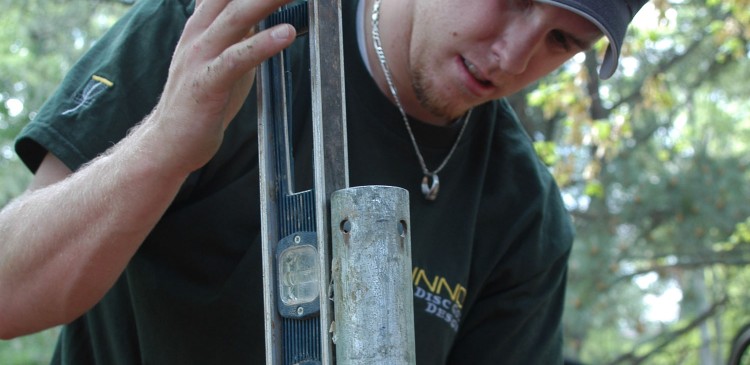
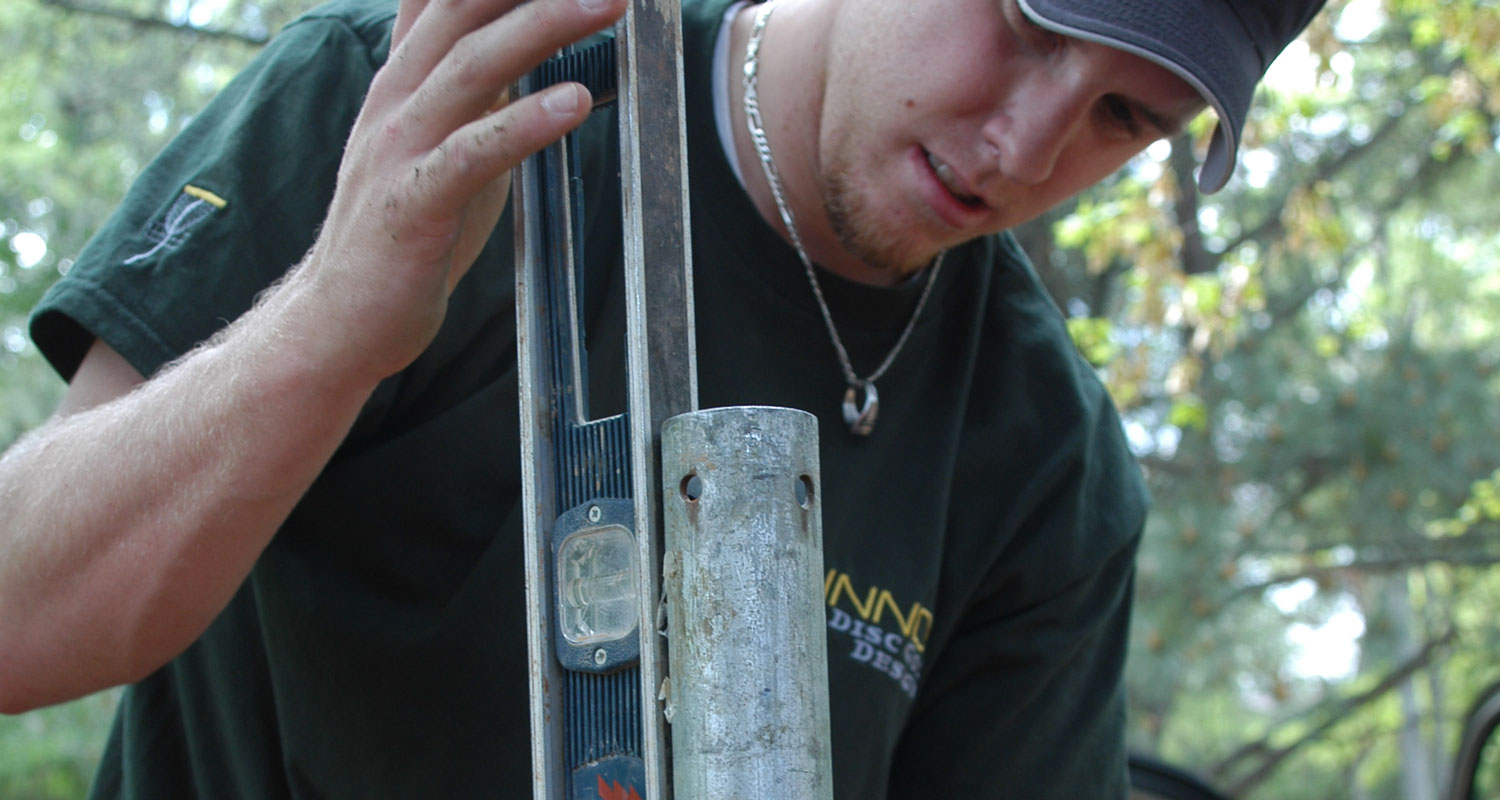
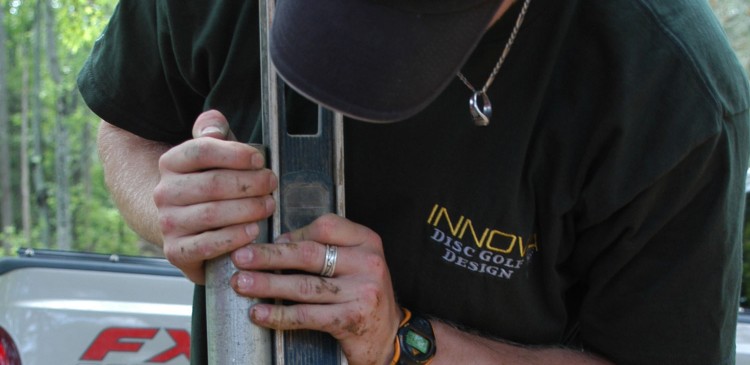
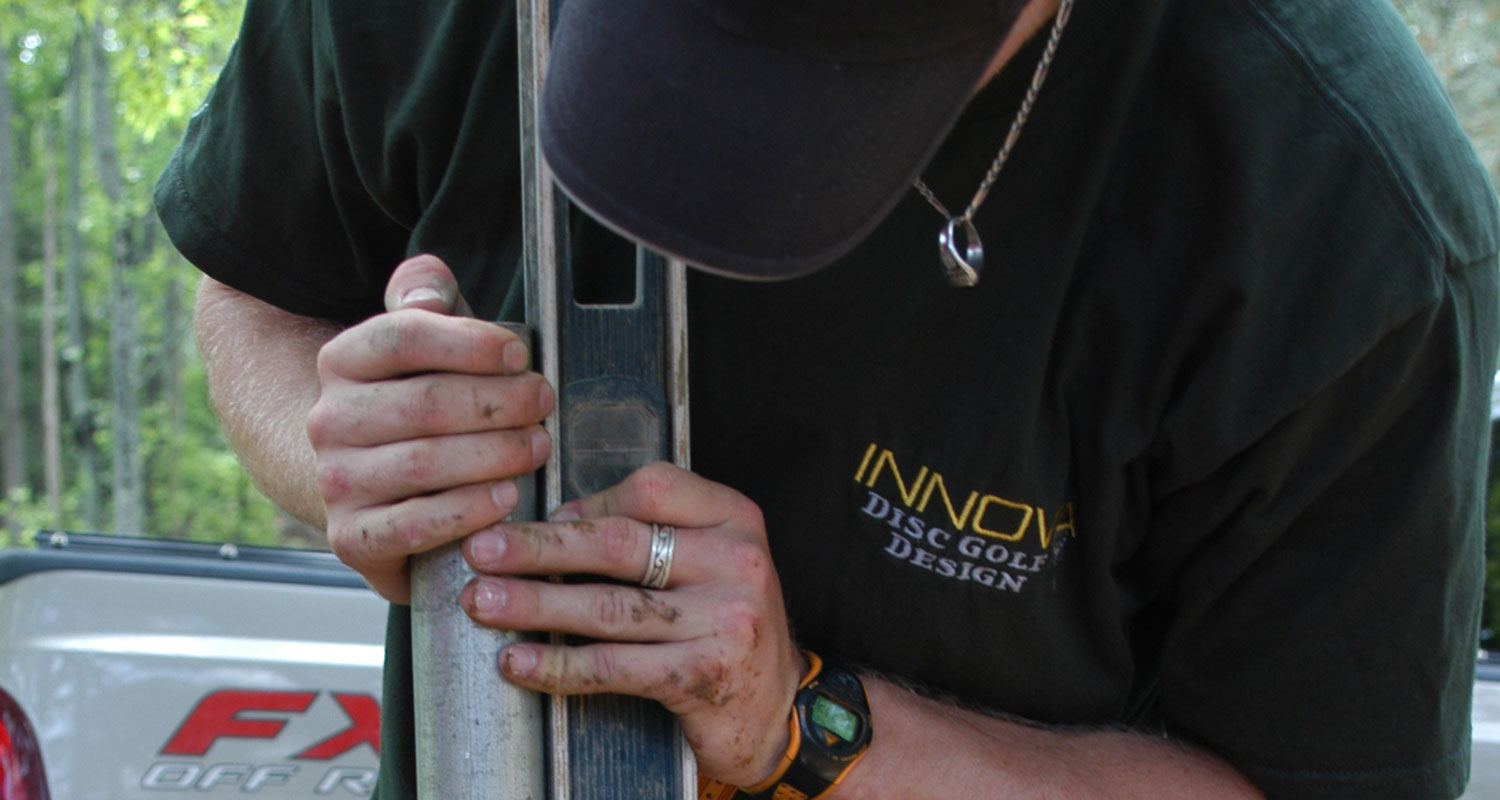
- Triple check that it’s plumb.
Stick a level against the pole, and move the pole until the bubble is centered. Move the level 1/4 of the way around the pole to measure straightness on the other plane. Double check that the tab is facing the tee or center of the fairway.
Once the pipe is plumb, remove the DISCatcher® pole carefully. Wipe any excess concrete from the locking tab.
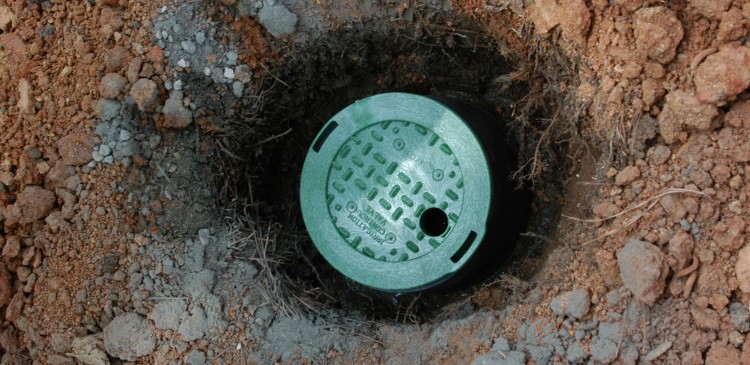
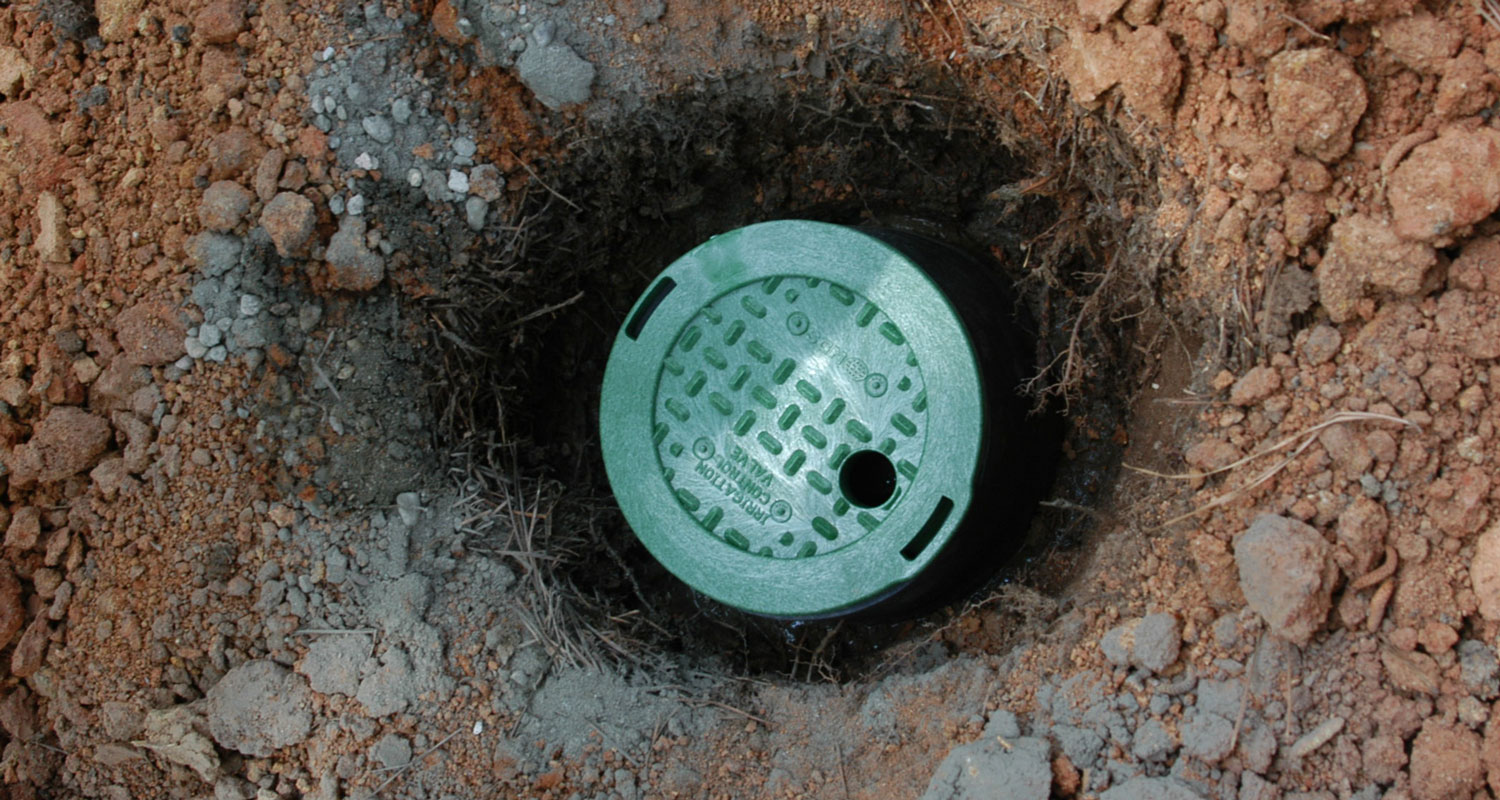
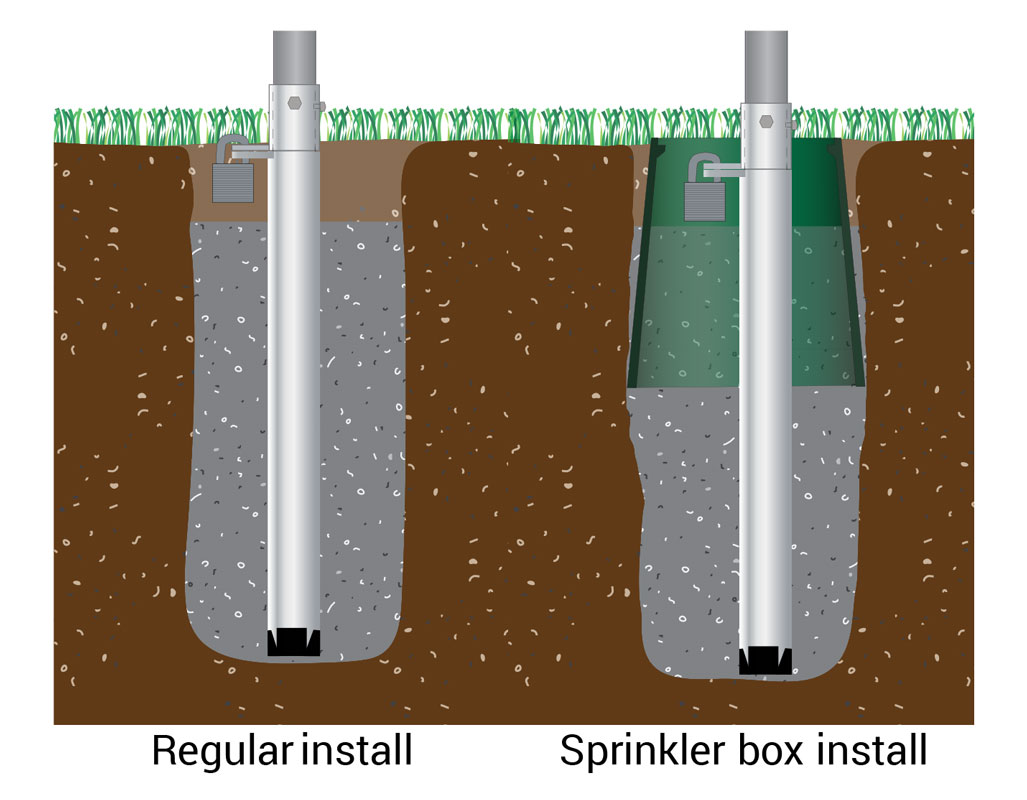
- (Optional) Install with sprinkler valve box.
If you are installing sprinkler valve housings, set pole height one inch below grade. This allows for the sprinkler box to lay flush with the ground. Press sprinkler box into poured concrete after you’ve squared up the pole. Make sure you have room to install the lock.
Parts Needed to Install Tube:
- One installation tube per pin placement
- One DISCatcher® pipe with locking tab installed
- Optional: 6” sprinkler valve box
Tools/Supplies You Will Need:
- Posthole digger or auger with 8” bit
- Magnetic level or long carpenter’s level
- Duct tape (to seal the bottom of the tube)
- 60-80 pounds of concrete per pin placement
- A long spade AKA “sharp shooter”


